How to Use Autopsy for Basic File Recovery
Learn how to recover deleted or lost files using Autopsy, a free and powerful digital forensics tool. This step-by-step guide walks you through creating a case, adding a data source, running analysis modules, and securely extracting recoverable files. Perfect for beginners looking to perform basic file recovery with forensic-grade software.
8/1/20253 min read
How to Use Autopsy for Basic File Recovery
Autopsy is a powerful open-source digital forensics tool widely used by professionals to investigate and recover lost or deleted files from various storage devices. Even if you're a beginner, you can follow these simple steps to recover files using Autopsy.
What Is Autopsy?
Autopsy provides a graphical interface for The Sleuth Kit and streamlines disk analysis, making it easier to recover deleted files—even on accidentally formatted or corrupted drives. It's commonly used for forensic investigations but is just as useful for basic data recovery needs.
Step-by-Step Guide to File Recovery with Autopsy
1. Download and Install Autopsy
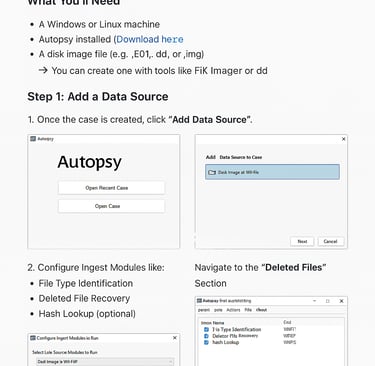
Download the latest version from the official Autopsy website.
Install it on your Windows or Linux machine.
Tip: For best results, avoid using the drive you want to recover files from, as this can overwrite the deleted data.
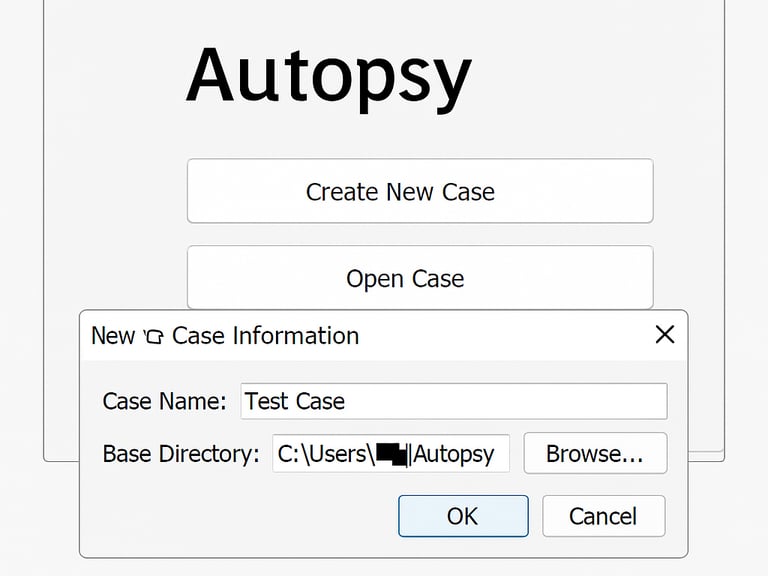
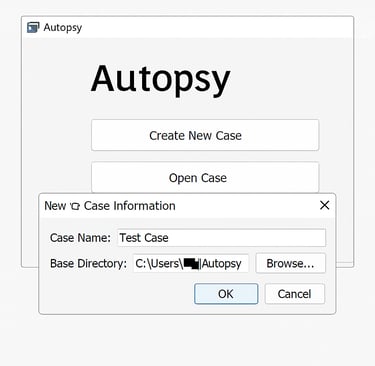
2. Launch Autopsy and Create a New Case
Open Autopsy as an administrator.
Click "New Case" on the main interface.
Enter a meaningful Case Name and select a Base Directory where case files will be saved, then click Next.
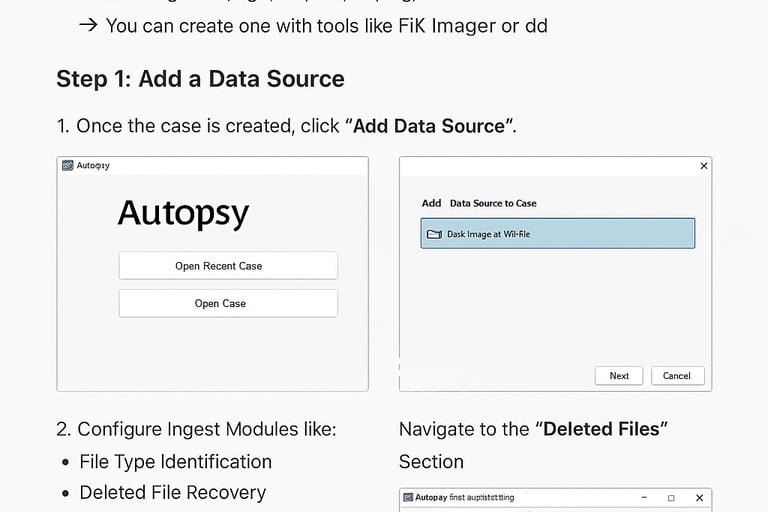
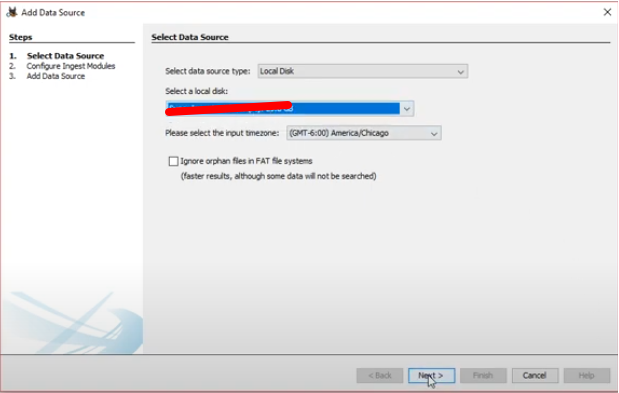
3. Add Your Data Source
On the Add Data Source screen, choose the type that matches your situation:
Disk Image or VM File: If recovering from a forensic disk image (.E01, .dd, etc.).
Local Disk: If your device is connected to your computer.
Logical Files: For individual files or folders.
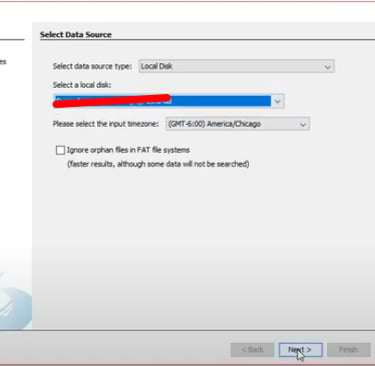
For most basic file recovery, choose Local Disk and select your target drive.
Screenshot Example: Selecting Data Source
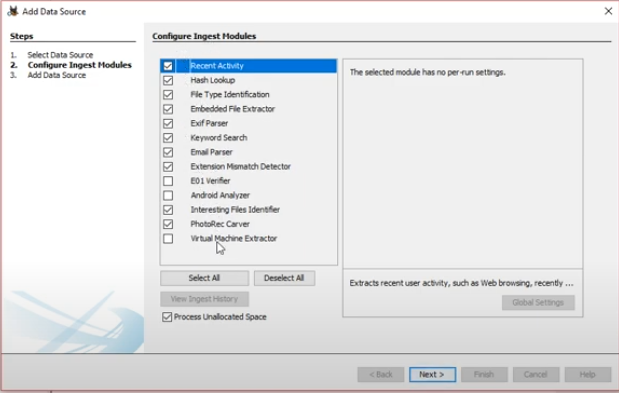
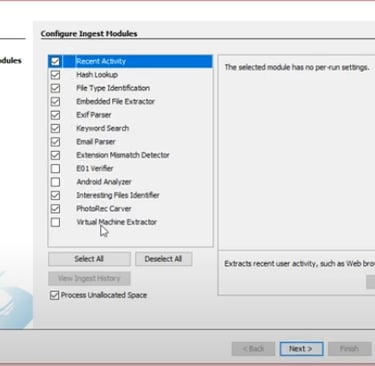
4. Configure Ingest Modules and Start Analysis
Select which analysis modules to use (leave defaults checked for general recovery).
Click Next and then Finish to start scanning your drive. Autopsy will now analyze the selected data source for recoverable files.
Screenshot Example: Ingest Module Configuration
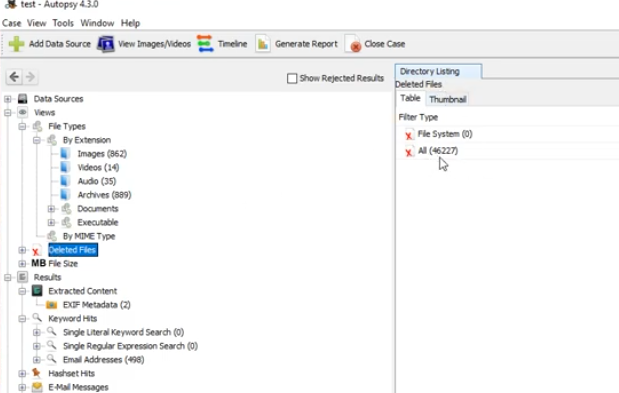
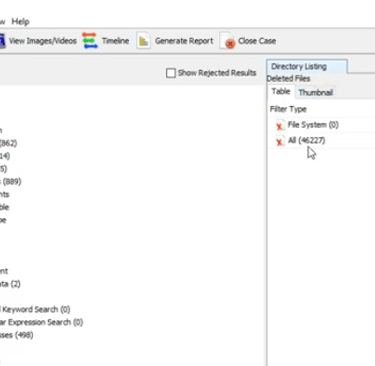
5. Browse and Recover Deleted Files
When analysis is complete, navigate to the Data Sources tab in the left panel.
Look under Views > Deleted Files or Results > Extracted Content to find recoverable files.
Preview files in the main window.
Right-click each file you wish to restore and choose "Extract Files" or "Export", selecting a safe place on your computer to save them.
6. Verify and Open Recovered Files
Go to the folder where you exported the files and verify they are intact.
For unreadable files, try opening them with different applications (e.g., Chrome for images or documents).
Tips for Successful Recovery
The sooner you attempt recovery after deletion, the better your chances.
Avoid saving new files to the affected device until recovery is finished, to prevent overwriting lost data.
Autopsy is free and comprehensive but may have a steeper learning curve than some basic data recovery tools.
Summary Table: Basic Autopsy Recovery Steps